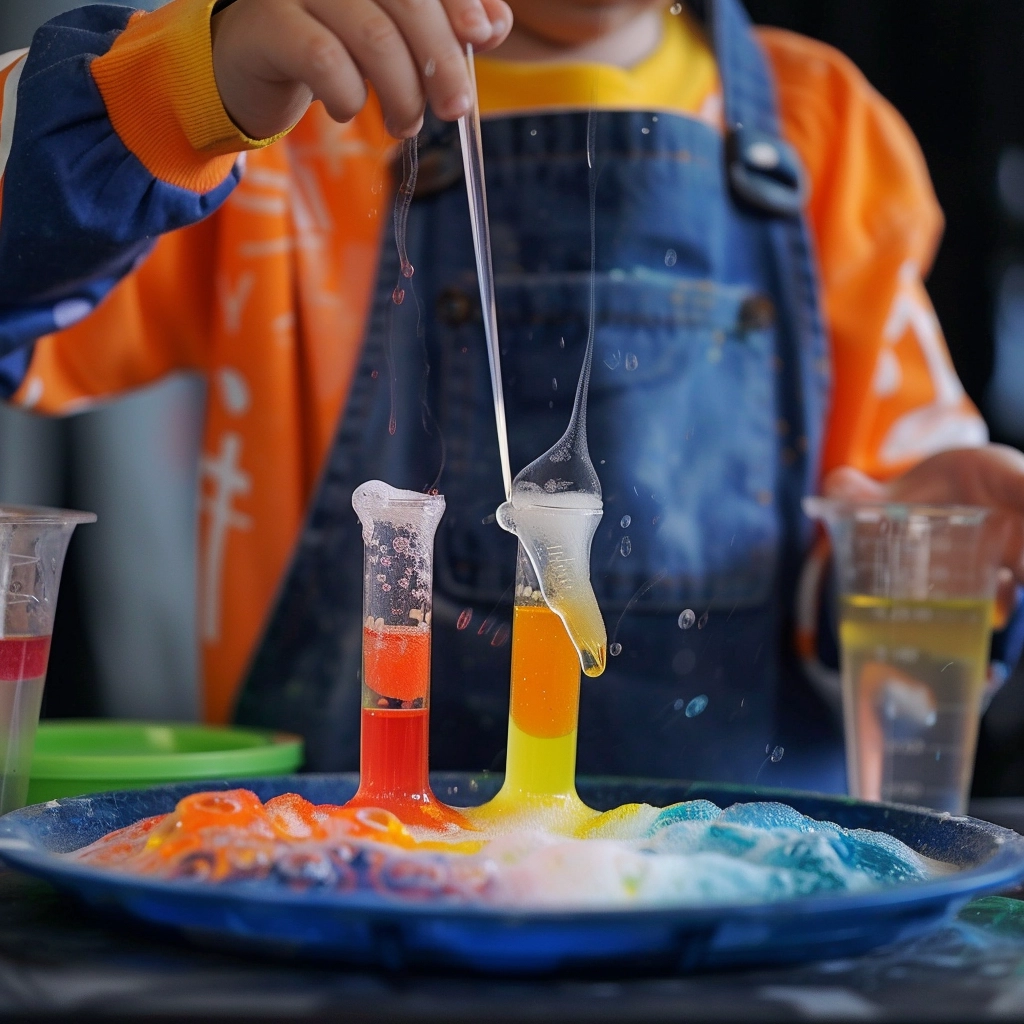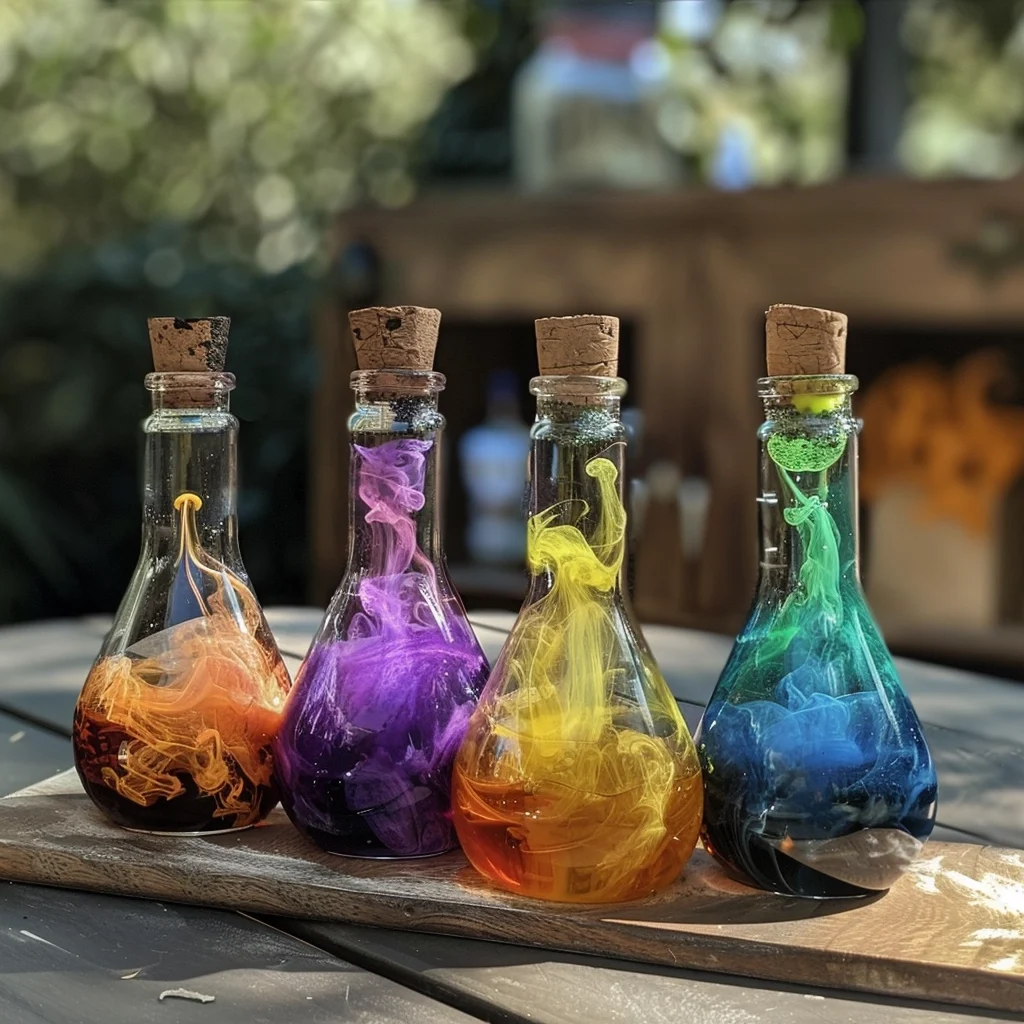
Jumping into chemical experiments is a practical way to see chemistry in action!
These activities vary from mixing everyday items to observing fascinating chemical reactions. When performing chemical experiments, you combine different substances and observe the outcomes, including color changes and temperature shifts. You can even create a new material! When you engage in these experiments, you’re actively exploring the principles of chemistry.
Safety is the top priority, so always prepare properly, wear safety gear, and adhere to the guidelines. Experiments at home or in a lab help you learn about science directly and interactively. They’re not just educational; they encourage you to think on your feet and tackle problems creatively.
The Basics of Chemical Experiments
Chemical experiments involve systematically investigating chemical reactions by mixing substances, known as reactants, and observing the results, referred to as products. These experiments are fundamental to understanding how different substances interact under various conditions. A typical chemical experiment starts with a clear objective, such as demonstrating a chemical principle or verifying a hypothesis about how reactants will transform into products.
Reactants are the starting materials in a chemical reaction, while products are the substances formed by the reaction. Children, students, and scientists gain insights into the nature of chemical compounds and their interactions by analyzing the changes from reactants to products, including any alterations in color, temperature, or state of matter.
If you find chemical experiments challenging, don’t worry! Personalized tutoring or interactive chemistry lessons make these concepts more straightforward. Explore more chemistry topics and broaden your knowledge with our free World of Chemistry blogs.
Chemistry Experiments for Children
Chemistry experiments designed for children turn learning into an exciting adventure, sparking their curiosity about the scientific world. By engaging in simple, safe experiments, kids can witness the magic of chemistry—creating a colorful volcano from baking soda and vinegar or making slime with household ingredients. These activities entertain and educate, introducing basic concepts like reactions, states of matter, and the scientific method.
A chemistry tutor can provide personalized lessons tailored to your needs, making organic and inorganic chemistry understandable and enjoyable.
Five Chemistry Experiments for Children You Can Do At Home
1. Baking Soda and Vinegar Volcano
Materials Needed:
- Baking soda
- Vinegar
- Dish soap (optional for foamy lava)
- Food coloring (optional for colored lava)
- A small bottle or container
- Modeling clay or playdough to shape the volcano
Procedure:
- Construct your volcano using modeling clay around the bottle, exposing the opening at the top.
- Mix a few drops of dish soap and food coloring with baking soda and place this mixture in the bottle.
- Pour vinegar into the bottle and watch your volcano erupt with foamy, colored lava.
Scientific Principle:
This experiment showcases an acid-base reaction. Vinegar (acid) reacts with baking soda (base) to produce carbon dioxide gas, which causes a foamy eruption that mimics a volcanic eruption.
2. Invisible Ink with Lemon Juice
Materials Needed:
- Lemon juice
- Q-tip or paintbrush
- White paper
- Heat source (light bulb or iron)
Procedure:
- Dip the Q-tip or paintbrush in lemon juice and write your message on the paper.
- Allow the paper to dry completely; the message will be invisible.
- Heat the paper gently under a light bulb or with an iron to reveal the hidden message.
Scientific Principle:
Applying heat to lemon juice accelerates oxidation, breaking down its compounds. This process produces dark-colored melanoidin, turning the invisible ink brown. This experiment illustrates heat’s role in speeding up chemical changes.
3. Homemade Slime
Materials Needed:
- White glue
- Borax powder
- Water
- Food coloring (optional)
Procedure:
- In one bowl, mix equal parts of white glue and water. Add food coloring if desired.
- In another bowl, dissolve a teaspoon of borax powder in warm water.
- Slowly add the borax solution to the glue mixture, stirring until the slime forms.
Scientific Principle:
The glue contains polyvinyl acetate, which reacts with borax to form a polymer. This polymerization process results in slime, demonstrating viscosity and the properties of polymers.
4. Growing Sugar Crystals
Materials Needed:
- Sugar
- Water
- A saucepan
- A glass jar
- A pencil or stick
- Thread
Procedure:
- Dissolve a large amount of sugar in boiling water to make a saturated solution.
- Pour the solution into a glass jar, letting it cool slightly.
- Tie one thread end to a pencil and the other to a small weight or paperclip. Place the pencil over the jar so the thread hangs into the solution.
- Wait for several days as crystals form on the thread.
Scientific Principle:
As the solution cools, it becomes supersaturated, causing sugar molecules to crystallize around the thread. This process illustrates saturation and crystal growth.
5. Oil and Water Emulsion
Materials Needed:
- Vegetable oil
- Water
- Dish soap
- Food coloring (optional)
- A clear glass or jar
Procedure:
- Fill a glass halfway with water and add a few drops of food coloring.
- Pour vegetable oil into the glass, observing that it doesn’t mix with water.
- Add a few drops of dish soap to the mixture and stir gently.
- Watch as the oil and water begin to mix, creating an emulsion.
Scientific Principle:
Oil and water do not mix due to differences in polarity. Adding dish soap, which contains molecules that can bind with oil and water, breaks down the surface tension and allows them to form an emulsion, demonstrating the role of surfactants.
Chemistry Experiments in the Home Kitchen
Chemistry experiments in the home kitchen transform ordinary ingredients into fascinating scientific explorations. Families can use everyday items like vinegar, baking soda, and food coloring to witness the exciting reactions that occur when different substances mix. These experiments provide a hands-on learning experience about chemical reactions, phases of matter, and the properties of liquids and gases and spark curiosity and a love for science in a familiar setting.
Anyone curious about chemistry in daily life can explore more simple experiments or consult a chemistry tutor to discover more about the science behind these everyday phenomena.
Five Simple Kitchen Chemistry Experiments
6. Dissolving Eggshell with Vinegar
Materials Needed:
- 1 raw egg
- White vinegar
- A glass or jar
Procedure:
- Place the raw egg gently into the glass or jar.
- Pour enough vinegar into the glass to completely cover the egg.
- Observe changes over 24-48 hours as the eggshell dissolves.
Scientific Principle:
The acetic acid in vinegar reacts with calcium carbonate, the primary component of the eggshell, producing carbon dioxide gas and dissolving the shell. This chemical experiment demonstrates an acid-base reaction.
7. Making Homemade Butter
Materials Needed:
- Heavy cream
- A jar with a tight-fitting lid
- A pinch of salt (optional)
Procedure:
- Fill the jar halfway with heavy cream. Add a pinch of salt if desired.
- Secure the lid tightly and shake vigorously for about 5-10 minutes.
- Drain the buttermilk once the cream thickens and separates into butter and buttermilk.
Scientific Principle:
Shaking causes the fat molecules in the cream to clump together, separating from the liquid in a process called emulsification. This phase change creates butter.
8. Yeast Fermentation Demonstration
Materials Needed:
- Active dry yeast
- Sugar
- Warm water
- A clear bottle or jar
Procedure:
- Dissolve a teaspoon of sugar in a half cup of warm water in the bottle.
- Sprinkle some yeast into the solution and swirl gently.
- Watch for bubbles to form, indicating the release of carbon dioxide.
Scientific Principle:
Yeast consumes sugar and produces carbon dioxide and alcohol through fermentation. This process demonstrates how yeast cells metabolize.
9. Edible Water Beads
Materials Needed:
- Sodium Alginate
- Calcium lactate
- Food coloring (optional)
- Water
- Droppers
- A couple of clear bowls
Procedure:
- Dissolve sodium alginate in one bowl of water. Add food coloring if desired.
- Dissolve calcium lactate in another bowl of water.
- Use a dropper to squeeze drops of the sodium alginate solution into the calcium lactate solution.
- Observe the formation of gel-like beads.
Scientific Principle:
This experiment demonstrates polymerization and spherification. The calcium ions cause the alginate molecules to link together, forming a gel sphere.
10. Homemade Lava Lamp
Materials Needed:
- A clear plastic bottle or glass jar
- Water
- Vegetable oil
- Food coloring
- Effervescent tablets (like Alka-Seltzer)
Procedure:
- Fill the bottle one-quarter with water and add a few drops of food coloring.
- Fill the rest of the bottle with vegetable oil, letting the two liquids separate.
- Add pieces of an effervescent tablet to the bottle and watch the lava lamp effect.
Scientific Principle:
The effervescent tablet reacts with water to produce carbon dioxide gas. These gas bubbles attach to water droplets, carrying them up through the oil layer until the gas escapes at the surface, and the water droplets fall back down, creating a lava lamp effect. This chemical experiment illustrates concepts of liquid density and gas formation.
Do you need help with chemical experiments at home? An organic chemistry tutor or hands-on biochemistry lessons can help you quickly understand and use these complex ideas.
Enhancing Chemistry Learning through Personalized Tutoring
Discovering the wonders of chemistry can be an exhilarating journey, but sometimes, the path may seem challenging. This is where the support of a tutor or private teacher becomes invaluable. Personalized tutoring in chemistry offers a tailored learning experience that can address individual needs and pace, making complex concepts more accessible and engaging.
- Tutor-Led Experiments: A private teacher can guide students through hands-on experiments, providing real-time feedback and deeper insights into each reaction. This practical approach reinforces theoretical knowledge by applying it in real-world scenarios.
- Focused Lessons: Tutoring sessions can concentrate on specific areas of difficulty, such as understanding the periodic table, mastering chemical equations, or getting comfortable with lab techniques. They are designed to target learning gaps and efficiently use study time.
- Engaging Learning Methods: Tutors employ various teaching methods to keep lessons interesting. From interactive quizzes to virtual lab simulations, these strategies cater to different learning styles, ensuring concepts stick.
- Boosting Confidence: One-on-one tutoring provides a safe space for students to ask questions and make mistakes, fostering a growth mindset. With encouragement and personalized support, students gain confidence in their chemistry skills.
- Flexible Scheduling: Tutoring allows for flexible scheduling, accommodating busy lives, and providing help with things like exam preparation or project completion.
Suppose you’re looking for a chemistry tutor. In that case, a simple search like “organic chemistry tutor Liverpool” or “inorganic chemistry teacher Edinburgh” on platforms like meet’n’learn can help you find the right private teacher for your needs.
Those who prefer group learning environments can easily find chemistry classes nearby by searching for “chemistry classes Leeds” or “chemistry lessons London” online, leading to local schools or educational centers.
Chemical Experiments: Frequently Asked Questions
1. What are chemical experiments?
Chemical experiments are hands-on activities that explore chemical reactions, properties, and the behavior of substances.
2. Can chemical experiments be done at home?
Many chemical experiments can be safely conducted at home using household items.
3. Are chemical experiments safe for children?
With adult supervision and using non-toxic materials, many chemical experiments are safe and educational for children.
4. What is the simplest chemical experiment?
Mixing baking soda and vinegar to create a gas is one of the simplest and most popular chemical experiments.
5. How can I learn more through chemical experiments?
Working with a tutor or taking lessons can provide deeper insights and personalized guidance in understanding chemical experiments.
6. Do I need special equipment for home chemistry experiments?
You can do most home chemistry experiments with everyday items and basic safety gear like gloves and goggles.
7. What should I do if an experiment goes wrong?
Stop immediately, follow any safety instructions provided with the experiment guide, and clean up any spills with appropriate materials.
8. How can tutoring enhance the experience of conducting chemical experiments?
A tutor or private teacher can offer tailored lessons that enrich understanding, ensure safety, and make learning more interactive and fun.
References:
1. ThoughtCO
2. Royal Society of Chemistry
3. Education Corner


